
Installing Tomcat on macOS 13.x Ventura
Apache Tomcat 10.1.8 implements specifications that are part of the Jakarta EE 10 platform. Please note that applications that ran on Tomcat 9 and earlier will not run on Tomcat 10 without changes. Java EE based applications designed for Tomcat 9 and earlier may be placed in the $CATALINA_BASE/webapps-javaee directory and Tomcat will automatically convert them to Jakarta EE and copy them to the webapps directory.
Prerequisite: Java
Tomcat 10.1 is designed to run on Java 11 and later. However, since OS X 10.7 Java is not (pre-)installed anymore. Let’s fix that by installing a Prebuilt OpenJDK Binary. Easy to follow details about how to install OpenJDK are available here. Anyway, after opening the Terminal app,
java --version
hopefully shows something like this:
openjdk version "19.0.1" 2022-10-18
OpenJDK Runtime Environment Temurin-19.0.1+10 (build 19.0.1+10)
OpenJDK 64-Bit Server VM Temurin-19.0.1+10 (build 19.0.1+10, mixed mode, sharing)
Whatever you do, when opening Terminal and running ‘java –version’, you should see something like this, with a version of at least 11 Again, Tomcat 10.1 is designed to run on Java 11 and later.
JAVA_HOME is an important environment variable, not just for Tomcat, and it’s important to get it right. Here is a trick that allows me to keep the environment variable current, even after a Java Update was installed. In ~/.zshenv, I set the variable like so:
export JAVA_HOME=$(/usr/libexec/java_home)
Installing Tomcat
Here are the easy to follow steps to get it up and running on your Mac
- Download a binary distribution of the core module: apache-tomcat-10.1.x from here. I picked the tar.gz in Binary Distributions Core section.
- Opening/unarchiving the archive will create a new folder structure in your Downloads folder: (btw, this free Unarchiver app is perfect for all kinds of compressed files and superior to the built-in Archive Utility.app)
~/Downloads/apache-tomcat-10.1.8 - Open the Terminal app to move the unarchived distribution to /usr/local like so:
sudo mkdir -p /usr/local
sudo mv ~/Downloads/apache-tomcat-10.1.8 /usr/local - To make it easy to replace this release with future releases, we are going to create a symbolic link that we are going to use when referring to Tomcat (after removing the old link, you might have from installing a previous version):
sudo rm -f /Library/Tomcat
sudo ln -s /usr/local/apache-tomcat-10.1.8 /Library/Tomcat - Change ownership of the /Library/Tomcat folder hierarchy:
sudo chown -RL $USER /Library/Tomcat - Make all scripts in Tomcat’s ./bin folder executable:
sudo chmod +x /Library/Tomcat/bin/*.sh
Tomcat 10.1.x
Starting Tomcat by executing the provided scripts, like so:
/Library/Tomcat/bin/startup.sh
Using CATALINA_BASE:   /Library/Tomcat
Using CATALINA_HOME:   /Library/Tomcat
Using CATALINA_TMPDIR: /Library/Tomcat/temp
Using JRE_HOME:        /Library/Java/JavaVirtualMachines/temurin-19.jdk/Contents/Home
Using CLASSPATH:       /Library/Tomcat/bin/bootstrap.jar:/Library/Tomcat/bin/tomcat-juli.jar
Using CATALINA_OPTS:
Tomcat started.
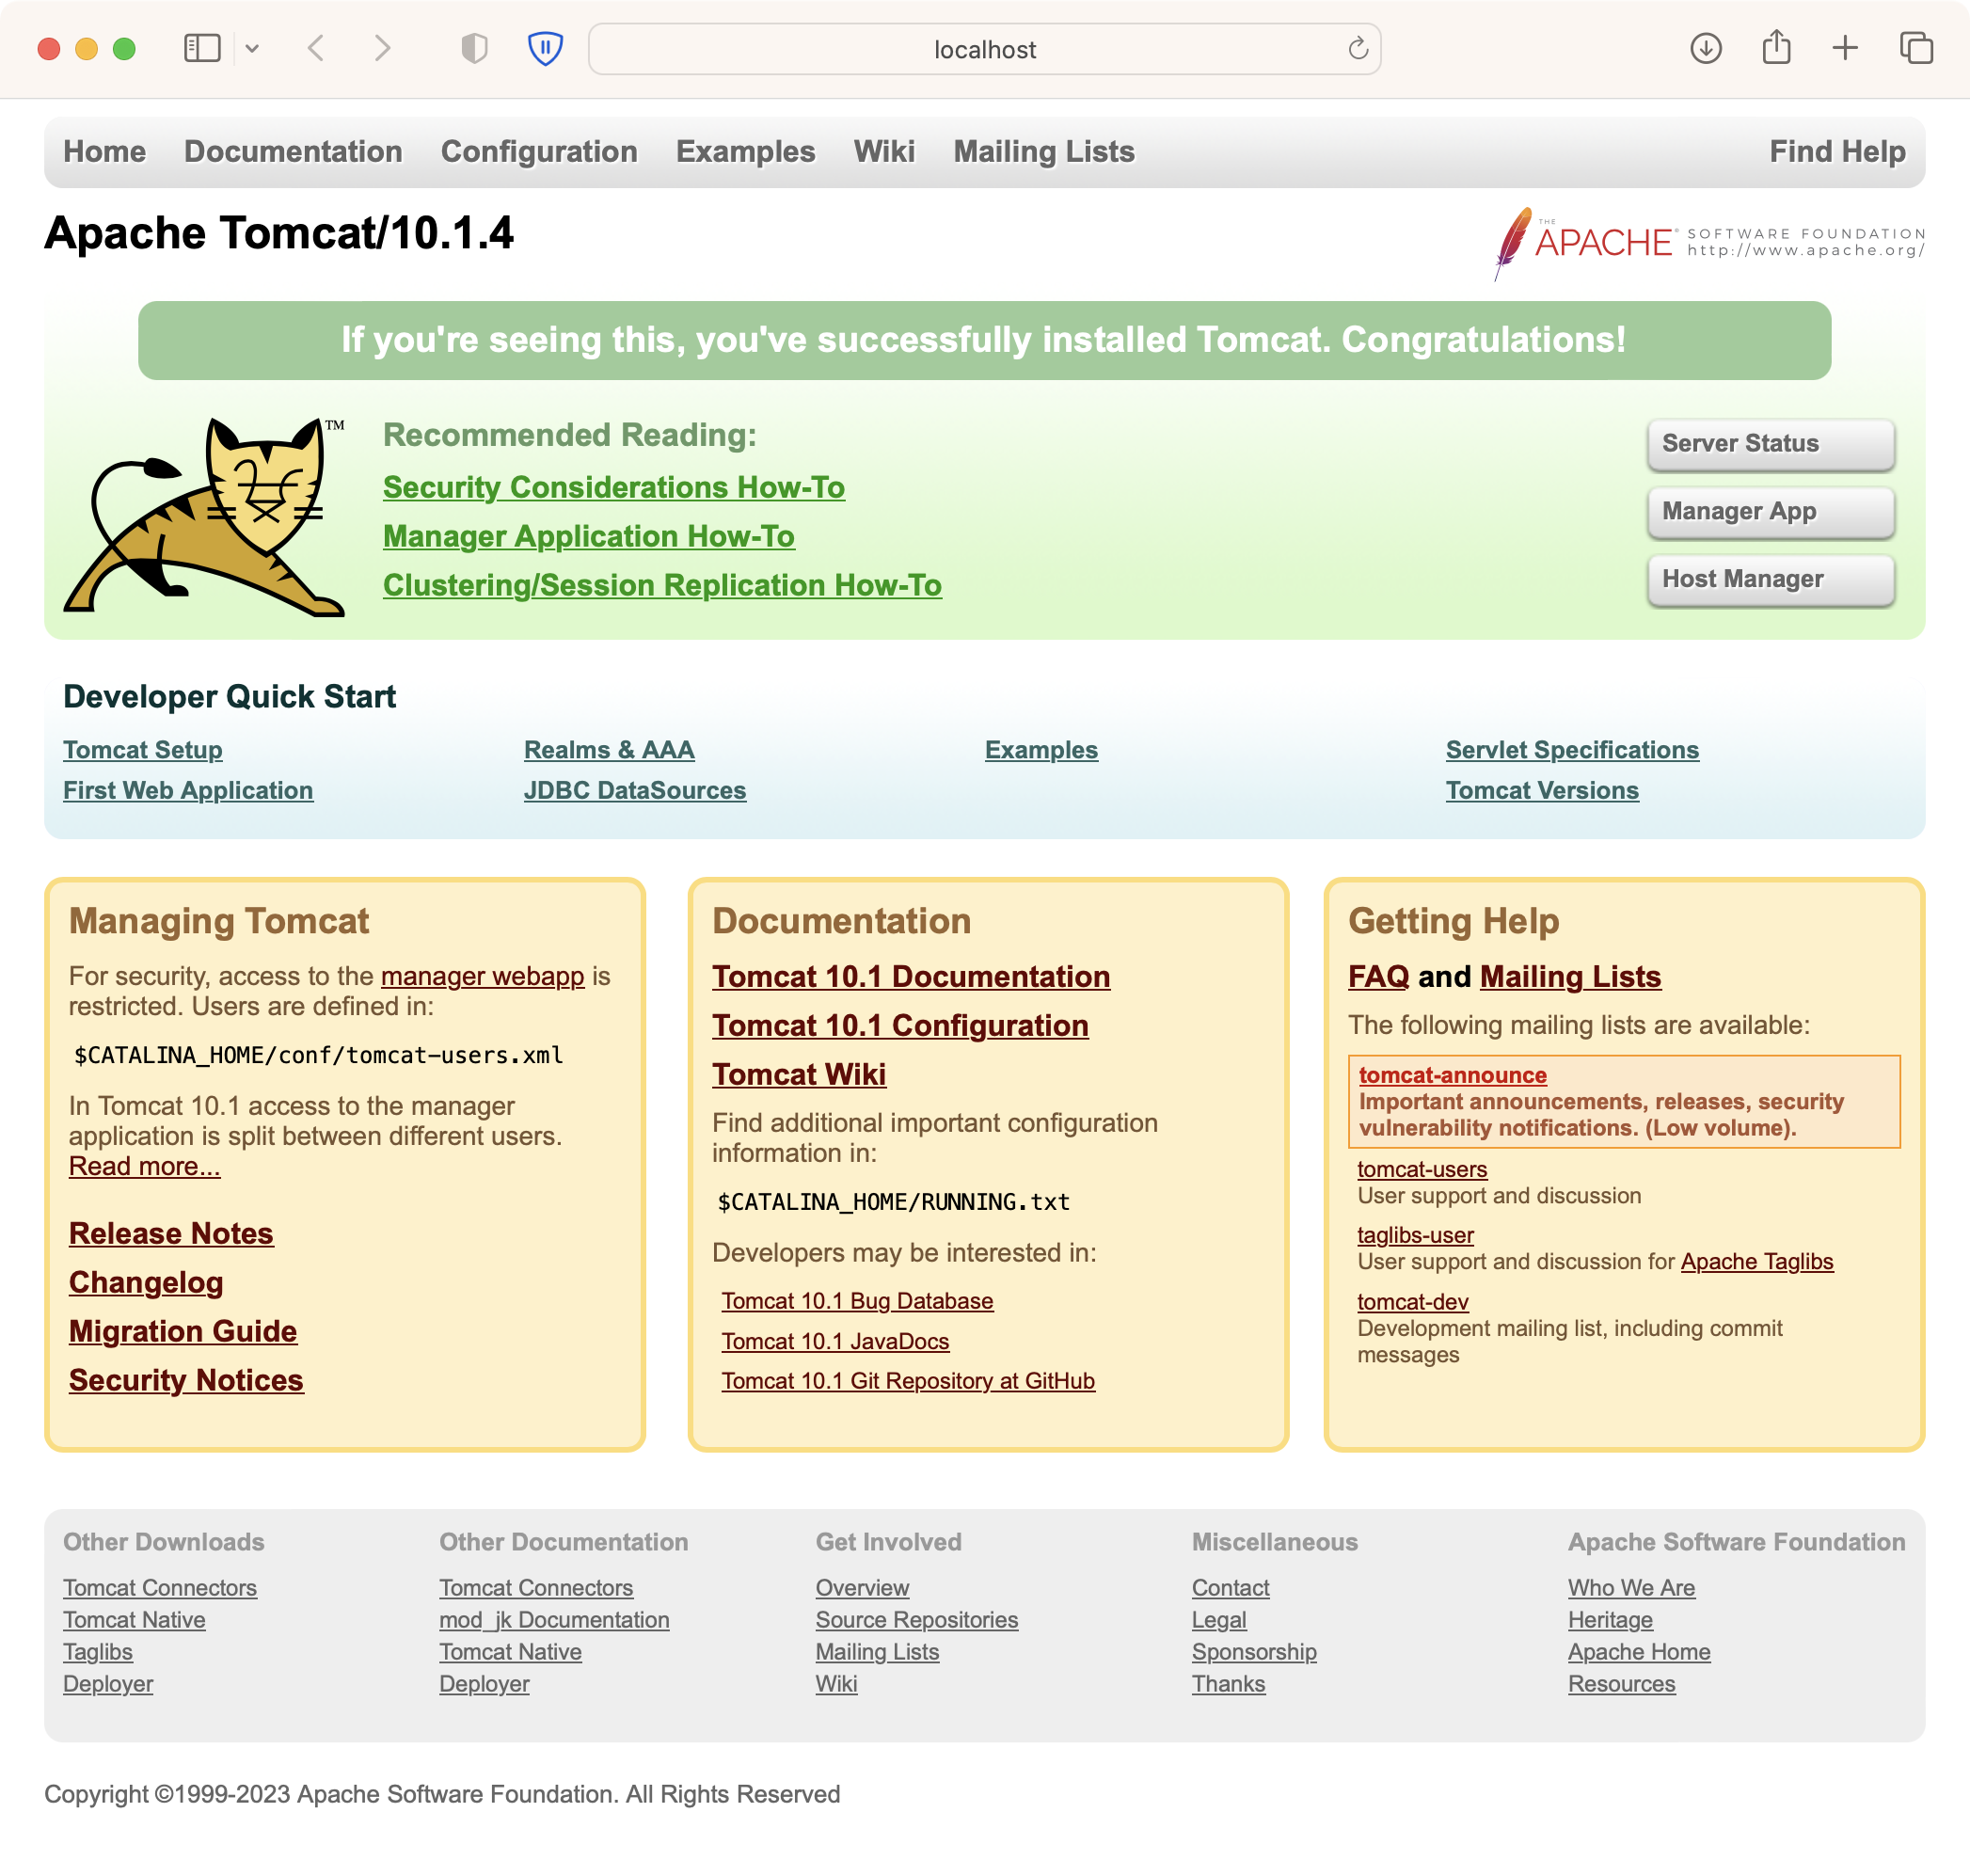
Finally, after your started Tomcat, open your Mac’s Web browser and take a look at the default page: http://localhost:8080
Stopping Tomcat by executing the provided scripts, like so:
/Library/Tomcat/bin/shutdown.sh
Using CATALINA_BASE:   /Library/Tomcat
Using CATALINA_HOME:   /Library/Tomcat
Using CATALINA_TMPDIR: /Library/Tomcat/temp
Using JRE_HOME:        /Library/Java/JavaVirtualMachines/temurin-19.jdk/Contents/Home
Using CLASSPATH:       /Library/Tomcat/bin/bootstrap.jar:/Library/Tomcat/bin/tomcat-juli.jar
Using CATALINA_OPTS:
Uninstalling Tomcat
Uninstalling Tomcat is even easier. However, please keep in mind that all the web apps that you might have installed will be removed as well.
sudo rm -f /Library/Tomcat
sudo rm -rf /usr/local/apache-tomcat-10.1.8
What a great tutorial! Thank you for it. Got Tomcat 10.1.8 working on my M1 Ventura machine.