
The Servlet 4.0 specification is out and Tomcat 9.0.x does support it. Time to dive into Tomcat 9.
Prerequisite: Java
Since OS X 10.7 Java is not (pre-)installed anymore, let’s fix that first. As I’m writing this, Java 11.0.1 is the latest version and AdoptOpenJDK is one of the best places to find Prebuilt OpenJDK Binaries. Easy to follow details about how to install OpenJDK are available here. Anyway, after opening the Terminal app again,
java -version
hopefully shows something like this:
openjdk version "11.0.6" 2020-01-14
OpenJDK Runtime Environment AdoptOpenJDK (build 11.0.6+10)
OpenJDK 64-Bit Server VM AdoptOpenJDK (build 11.0.6+10, mixed mode))
Whatever you do, when opening Terminal and running ‘java -version’, you should see something like this, with a version of at least 1.8.x I.e. Tomcat 9.x requires Java 8 or later.
JAVA_HOME is an important environment variable, not just for Tomcat, and it’s important to get it right. Here is a trick that allows me to keep the environment variable current, even after a Java Update was installed. In ~/.bash_profile, I set the variable like so:
export JAVA_HOME=$(/usr/libexec/java_home)
Installing Tomcat
Here are the easy to follow steps to get it up and running on your Mac
- Download a binary distribution of the core module: apache-tomcat-9.0.35 from here. I picked the tar.gz in Binary Distributions / Core section.
- Opening/unarchiving the archive will create a new folder structure in your Downloads folder: (btw, this free Unarchiver app is perfect for all kinds of compressed files and superior to the built-in Archive Utility.app)
~/Downloads/apache-tomcat-9.0.35 - Open to Terminal app to move the unarchived distribution to /usr/local
sudo mkdir -p /usr/local
sudo mv ~/Downloads/apache-tomcat-9.0.35 /usr/local - To make it easy to replace this release with future releases, we are going to create a symbolic link that we are going to use when referring to Tomcat (after removing the old link, you might have from installing a previous version):
sudo rm -f /Library/Tomcat
sudo ln -s /usr/local/apache-tomcat-9.0.35 /Library/Tomcat - Change ownership of the /Library/Tomcat folder hierarchy:
sudo chown -R <your_username> /Library/Tomcat - Make all scripts executable:
sudo chmod +x /Library/Tomcat/bin/*.sh
Tomcat 9.x
Starting and stoping Tomcat works with executing the provided scripts, like so:
/Library/Tomcat/bin/startup.sh

/Library/Tomcat/bin/shutdown.sh
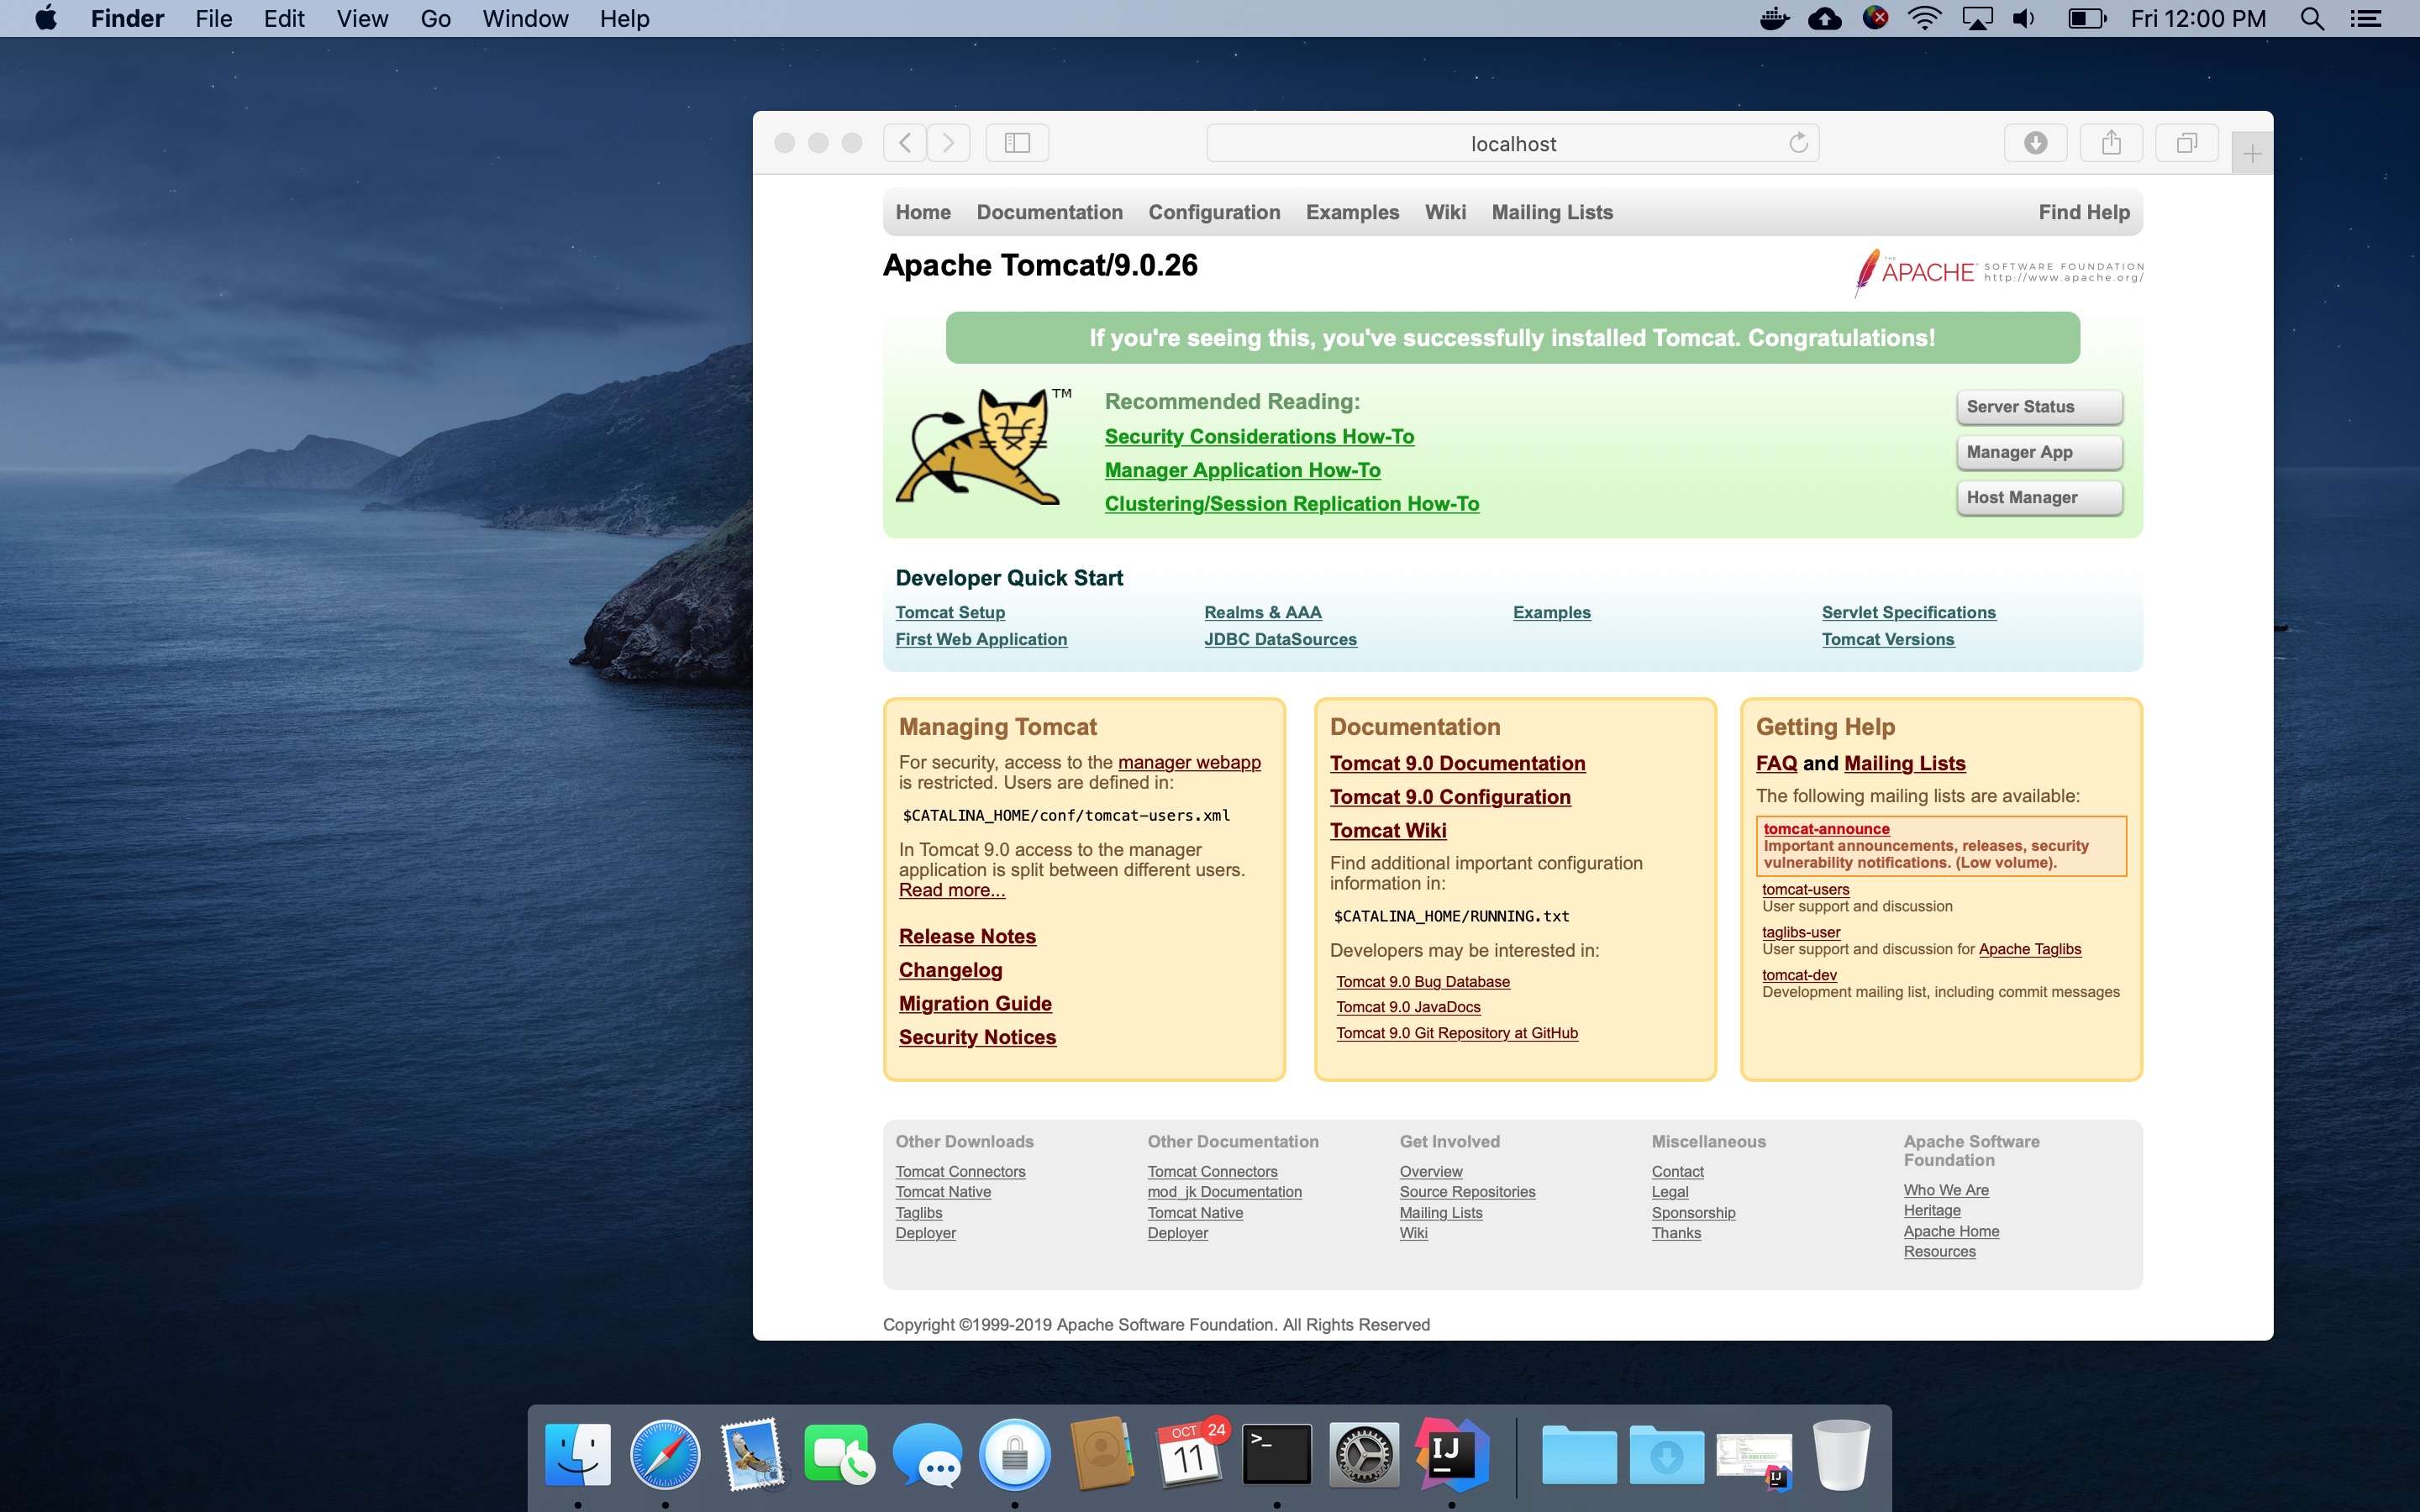
Finally, after your started Tomcat, open your Mac’s Web browser and take a look at the default page: http://localhost:8080
Thanks for the tutorial!
Thank you for your help. You were very timely!
I am getting this error on port 8080; I followed every instruction; I am not sure how to resolve it?
502 Bad Gateway
Socks5ProtocolException(“SOCKS5 mode failure: SocksError(‘Invalid SOCKS version. Expected 0x05, got 0x47’,)”,)
Looks like you are running a firewall preventing you from accessing port 8080
I am getting the below error after running the tomcat:
touch: /Library/Tomcat/logs/catalina.out: Permission denied
/Library/Tomcat/bin/catalina.sh: line 467: /Library/Tomcat/logs/catalina.out: Permission denied
Tomcat is started, but the localhost is not running.
Thank you for taking the time for this tutorial! It helped me a lot of frustration!
Obrigado, seguir os passos e deu tudo certo. Abraços!
Such a crisp and smooth tutorial, Got it done in just one go , Fab .
Thanks!
thank you! It helped me a lot.
Thanks, very clear and helpful tutorial!
Great, this help me to make a quick install on my mac. I’ll try JSPwiki …
Thank you for your help
Amazing!
Thank you Wolf Paulus, this was really helpful. Cheers!
Thanks a lot works perfectly!
Thanks a lot! Up and running
EXCELLENT¡¡¡ THANK YOU SO MUCH……